
At the end of a long day, nothing feels more luxurious than sinking into a warm, relaxing tub. Adding CBD to the mix will only elevate this delicious ritual and leave you feeling rejuvenated and pain-free. As this bliss molecule gains popularity the number of beauty companies creating products is growing and the options are seemingly endless. If you are like me and love to play around and make your own natural products, you are in luck. DIY projects like this are not only more cost-effective but also more FUN!
What is CBD?
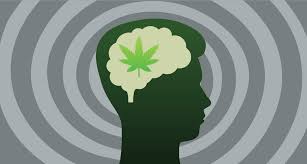
This natural, feel-good chemical is found in cannabis and hemp plants. Unlike its counterpart, THC, it is non-psychoactive and won’t leave you with the sensation of being “high”. Its medicinal uses vary and can help people suffering from epilepsy, depression, acne, and body pain. Another huge benefit is that it can do all of these things and is not addictive, unlike the traditional pharmaceuticals that are usually prescribed.
Full Spectrum? What is That?
You may have heard the terms “full spectrum” or “Isolate” get tossed around. If you are new to the game these labels can be confusing.
Full Spectrum CBD oil: This option is my personal favourite because it not only includes CBD but also the other 120 cannabinoids found in the marijuana plant. Separately, they are all beneficial, but together they are unstoppable. This does mean that there are trace amounts of THC which does not work for everyone.
Broad Spectrum CBD oil: This is your middle-of-the-road product. It has CBD as well as some of the other cannabinoids, but not all. This is an incredible option if you want extra-curing cannabinoids without the THC.
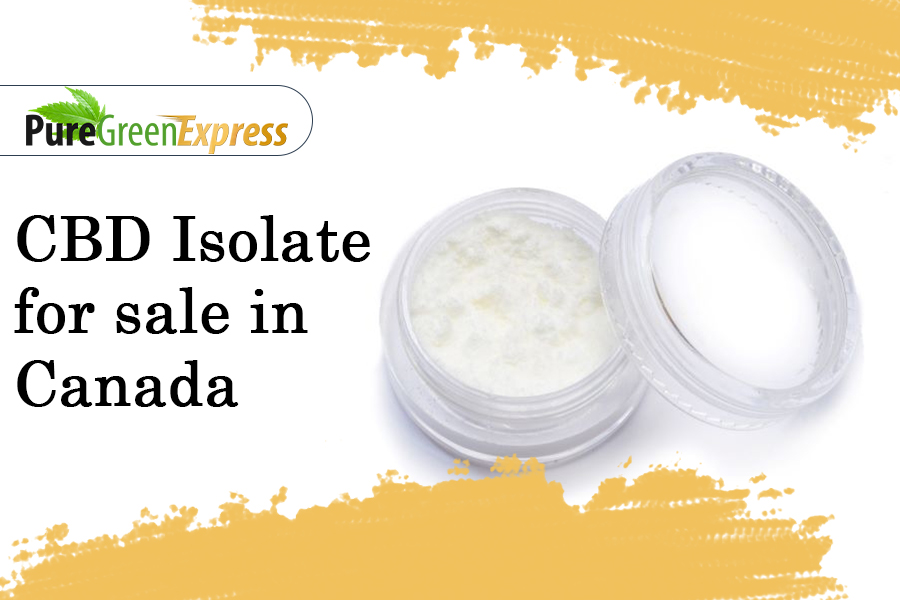
CBD Isolate: This is the purest version of CBD as it doesn’t have any of the other compounds in the hemp plant. This is the best option for skin care as it doesn’t irritate or clog the skin.
The Benefits of Soaking in CBD
There are so many benefits to using CBD in your everyday routines whether it’s applied to your skin or into a smoothie. A hot bath is the perfect way to unwind and adding CBD only amplifies those restorative effects. When CBD is applied directly to the skin it bypasses the liver and goes directly into the bloodstream for faster and more effective relief.

Let’s Get Started!
Most of the ingredients and the mold needed for this recipe are probably already lying around but some, like the molds, may have to be purchased. I bought mine off of amazon because it was convenient and they had thousands of options that were delivered right to my door within a couple of days.
What You Will Need
1. 1 cup baking soda
2. 1/2 cup citric acid
3. 1/2 cup Epsom salts
4. 1 tsp essential oil
5. 10-50 mg CBD (always start low and slow and work your way up depending on what best suits your body.)
6. 3 tsp olive oil
7. bowl
8. whisk
9. molds
10. dried flowers (optional)
Now that you have everything you need, let’s start creating! First thing’s first, get all of your ingredients together on your workstation. There is a lot of wiggle room here to get creative with your essential oils, colouring, and dried herbs and flowers. I like to keep everything I make very natural so I used beet( dark red/purple), hibiscus (pink), and calendula (yellow) powder as dye but alternatively soap dye works amazingly!
Like baking, we are going to start with all of our dry ingredients. In your big bowl whisk together the baking soda, citric acid, epsom salts, and your dye (if it’s powder form).
 |
 |
 |
Now… To Add Liquids
This is where things get a bit more finicky. Make sure to add and mix the liquids in slowly. We are going to now add our CBD, essential oils, and olive oil. When everything is mixed in, it should be the texture of wet sand. If it’s too dry add a few sprinkles of water. Be careful if you choose to do this though, it will help everything stick together better but won’t set properly. The first batch I made ended up activating and became a bubbly mess that spilled out of the molds. You may have better luck but I suggest not even adding water. Just start slowly combining the oil of your choice and CBD oil into the mix. I made some with olive oil, and some with coconut oil- both worked well.
 |
 |
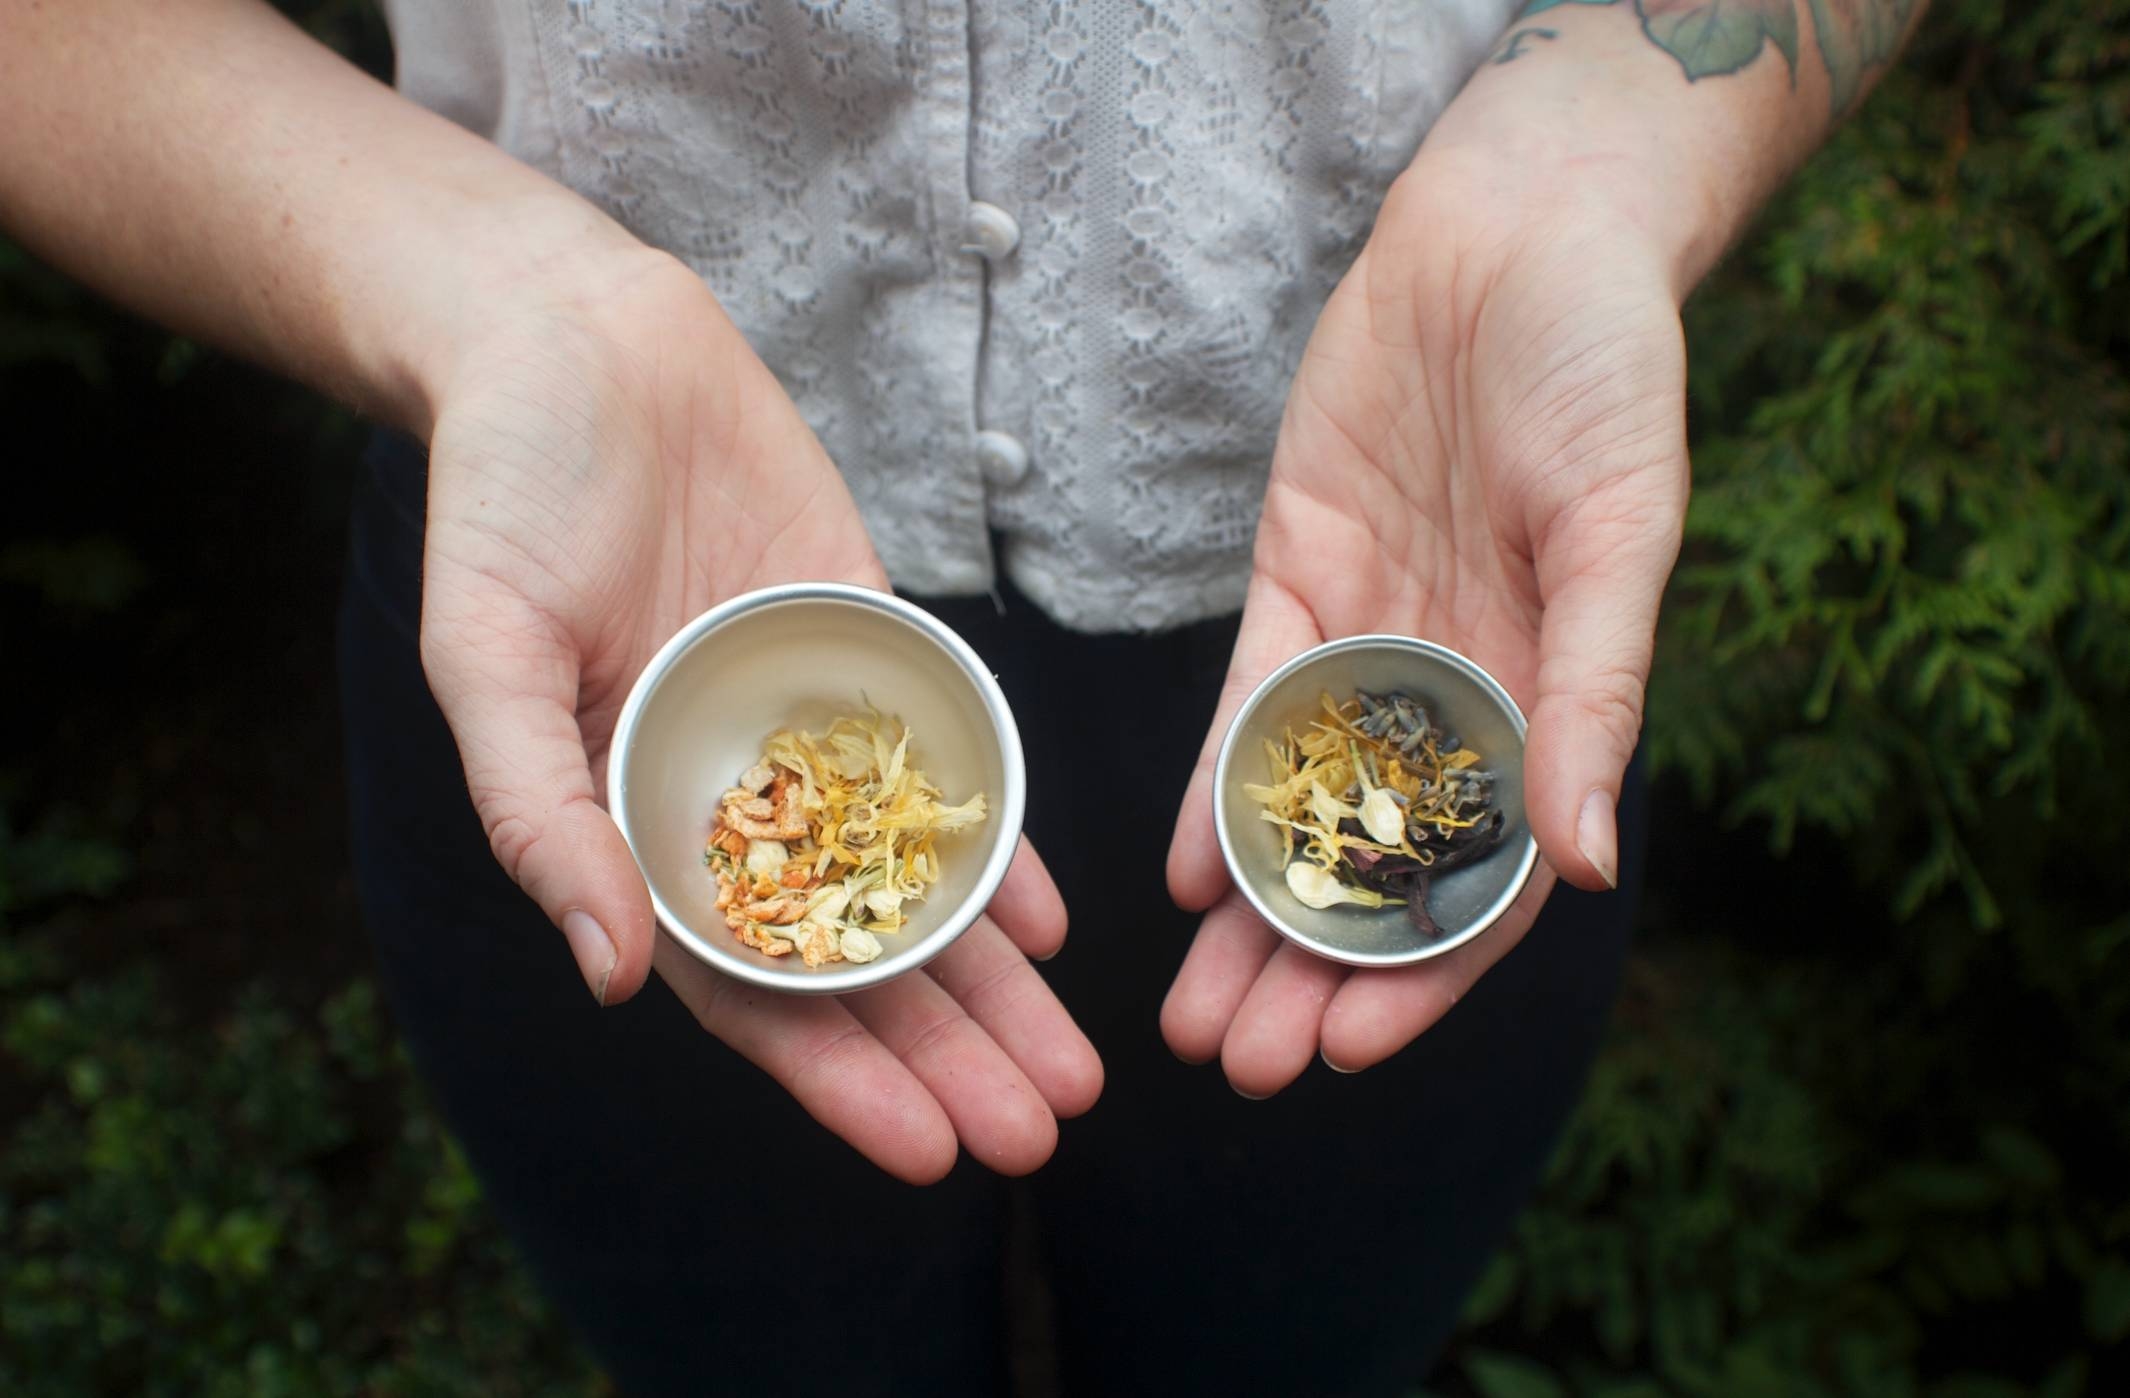
The final step is to put your soothing creation into the molds. I prefer metal, but plastic and silicone work just as well. I like to add dried flowers into the mold before the mixture to give it that extra flair. I’ve also used oatmeal, glitter, and herbs and they have all looked exceptional. In this case, I used a mix of calendula flowers, lavender, and orange peel.

Next, we need to let them dry. This was also something that took a lot of trial and error. It may be easier to let them dry solid in the mold if it is in silicone but this did not work for metal. I let it form for a couple of minutes and then took it out and lined them on a baking sheet. After this, I dried them in the oven for a few hours at 200 degrees Fahrenheit. This gives them a better shape and a glossy outside but isn’t necessary.

You’re Ready To Relax!
Now that you have some stunning, fragrant bath bombs finished you can store them in a dry, cool place. I keep mine in a container under the sink and they seem to hold up well. The finished products make great gifts for friends (and for yourself) and are so fun and easy to make. The options are endless so stay adventurous and play around with different ingredients and scents.
Have you tried this recipe or others that you love? Let us know!